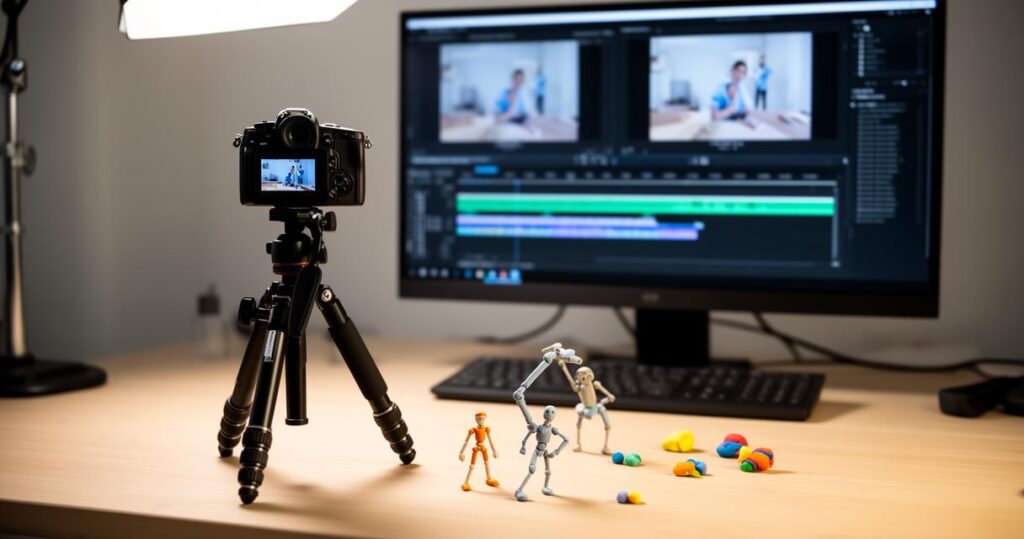
There is something quietly magical about watching a pile of clay or a handful of LEGO bricks spring to life on screen, and the good news is that anyone with a smartphone or tablet can have a go at making it happen. Stop-motion animation has become a brilliant creative activity for schools, families and hobbyists alike, blending patience with imagination to produce something genuinely impressive. This guide walks through the essentials, from setting up your kit to editing the final cut, so you can start telling your own stories one frame at a time.
In brief
- Stop-motion animation is an accessible creative activity that can be produced using basic equipment like smartphones, tablets, and simple household materials.
- The most critical factor in stop-motion filming is camera stability, which is best achieved by securing your device with a tripod or a fixed mount.
- Consistent lighting is essential to prevent visual flickering, so using a dedicated lamp instead of natural, shifting daylight is highly recommended.
- Beginners can use a variety of materials such as LEGO bricks, clay, or paper cutouts to create characters and sets that are easy to manipulate.
- Creating a storyboard before filming helps animators plan camera angles and character movements, ensuring a more organized production process.
- The animation effect is created by taking a series of individual photographs while making tiny, incremental adjustments to the characters between each frame.
- Dedicated stop-motion apps allow users to easily stitch their still images together, adjust playback speeds, and export their final project into a video format.
Setting up your stop-motion studio and equipment
Before you even think about characters or plot, it helps to get your physical setup sorted, because a wobbly camera or poor lighting will undo hours of careful work in seconds. The single most important rule in stop-motion is stability, since even the tiniest shift between shots creates a distracting jump on screen rather than smooth, believable movement.
Choosing the Right Camera and Tripod for Stability
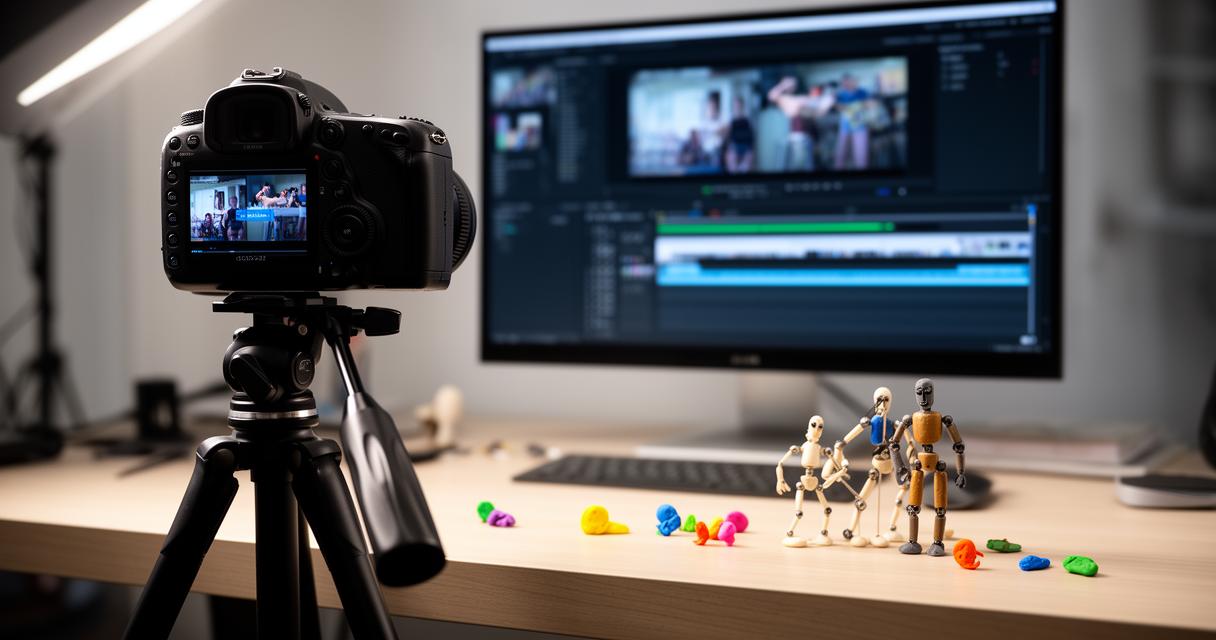
You don't need expensive kit to get started. A smartphone or tablet camera is perfectly capable of producing lovely results, and many dedicated animation apps are designed specifically around these devices. What matters far more than the camera itself is how securely it's mounted. A proper tripod, or even a makeshift stand using books or clamps, will keep your shot locked in place across dozens or hundreds of frames. Some animators also find it useful to mark the camera's position with tape on the table, just in case it gets nudged during a long session.
Designing a Dedicated Workspace to Enhance Visibility
Lighting is your best friend and worst enemy in equal measure. A consistent light source, ideally from a lamp rather than a window where daylight will shift throughout the day, keeps your footage looking uniform from start to finish. It's worth carving out a small dedicated corner of a room, a table, or even a shoebox-sized set, where your characters and background stay undisturbed between filming sessions. This dedicated space also makes it easier to see your composition clearly and spot any stray fingers or shadows creeping into shot before they end up baked into your final film.
Selecting and Preparing Characters and Materials
With your studio ready, the fun part begins: deciding who or what is going to star in your animation. Stop-motion is wonderfully flexible in this respect, welcoming almost any material you can get your hands on.
Working with LEGO, Clay, and Paper Cutouts
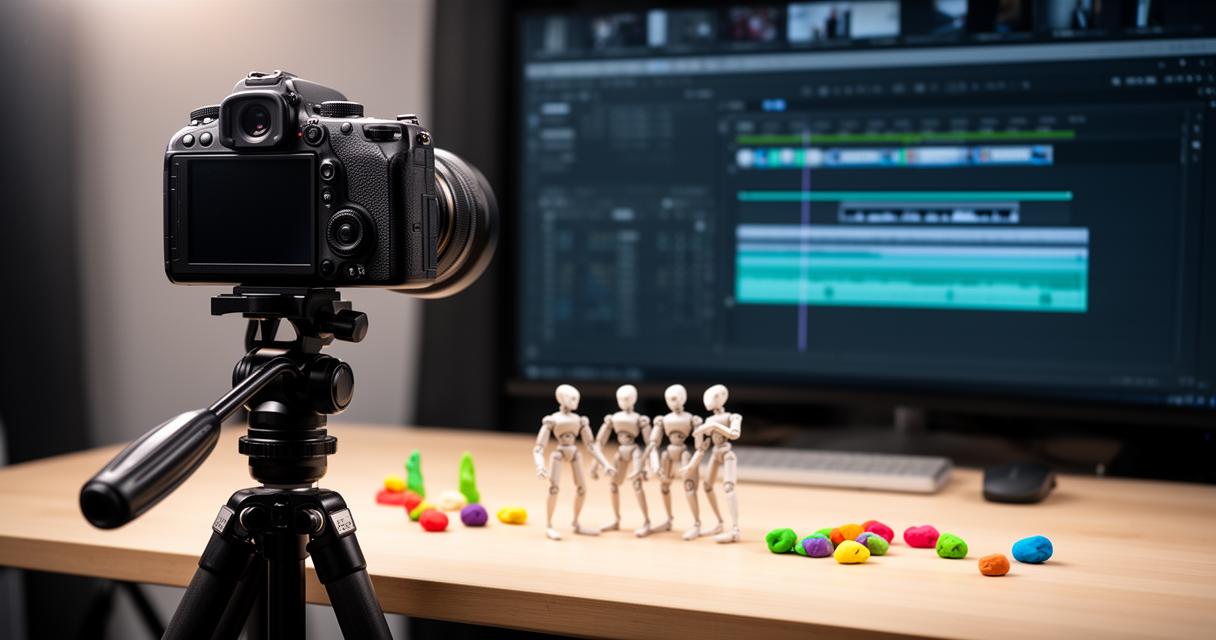
LEGO is a favourite among beginners because the bricks are sturdy, easy to reposition, and instantly recognisable, making it simple to build sets and characters that hold their pose between shots. Clay, often associated with classic claymation, offers more expressive, squishable movement and is brilliant for characters that need to stretch, squash or pull faces. Paper cutouts are another excellent option, particularly for younger animators, since shapes can be drawn, coloured and cut out cheaply, then slid gradually across a background to create motion. There's also a simpler alternative worth trying if materials are limited: a flip page animation, made by drawing slightly different images across the pages of a sticky note pad, which teaches the same fundamental principle of incremental change without needing a camera at all.
Planning your storyline and character movements
Every good animation starts with a plan, and this is where a storyboard becomes invaluable. Sketching out roughly what happens in each scene, even as simple stick figures, helps you work out camera angles, backgrounds and the order of events before you commit to filming. Once your story is mapped out, think carefully about how your characters will move. Movements in stop-motion need to be broken down into tiny, gradual steps, since it's the accumulation of these small shifts across many frames that creates the illusion of fluid motion rather than a jerky, disjointed sequence.
Capturing and editing your stop-motion animation
Once your characters, set and storyboard are ready, it's time to move into the filming stage itself, which is where the real patience of stop-motion comes into play.
Photographing Frame by Frame at 24 Frames Per Second
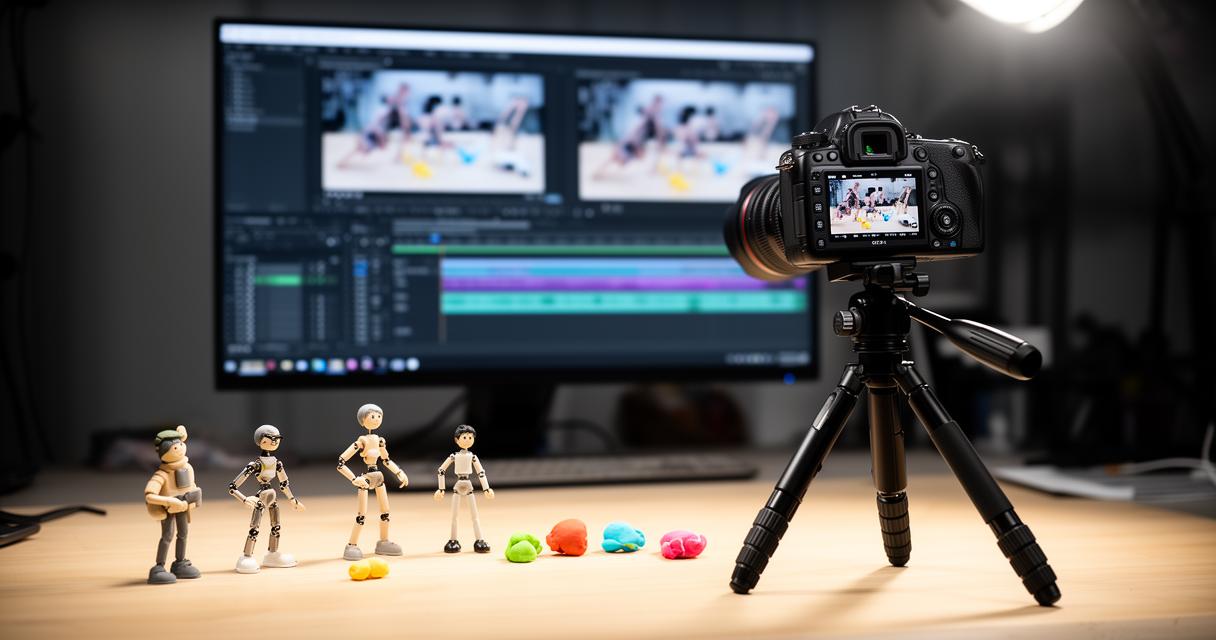
The basic process is refreshingly simple: take a picture, nudge your character slightly, take another picture, and repeat. Professional animation typically aims for around 24 frames per second, though beginners can happily work with fewer frames and still achieve convincing results, particularly when starting out with shorter sequences. The key steps generally follow a consistent pattern, including setting up the background, positioning the camera, taking a picture, moving the characters a small amount, and repeating this cycle until the story is told in full. It's a slow process, but each session builds naturally towards a finished sequence.
Using Editing Software and Applications to Create Fluid Motion
Once you've captured your still images, the next task is stitching them together into a moving sequence. Many stop-motion apps built for smartphones and tablets include this editing function directly, letting you preview your animation, adjust playback speed and export the finished piece as a video file ready for sharing. This stage is where the magic really clicks into place, as static photographs suddenly transform into a living, moving story. For those wanting extra guidance, resources such as BBC Bitesize offer clear, step-by-step tutorials suitable for various educational levels, including early years, KS1, KS2, KS3 and GCSE, making stop-motion a popular classroom activity as well as a home project. Organisations like the British Film Institute also champion filmmaking skills across the UK, offering inspiration for anyone keen to take their animation ambitions further. Whether you're a parent looking for a rainy-day activity or a student exploring character design and sequential imaging for a school project, stop-motion remains one of the most accessible and rewarding ways to get a genuine taste of film production.